how to ·
How to Make a Wax Seal
 Whether you're making one or a whole bunch, creating wax seals is incredibly easy and a helluva lot of fun. There are just a few things you need before you get started and you can get them all from us at Kustom Haus.
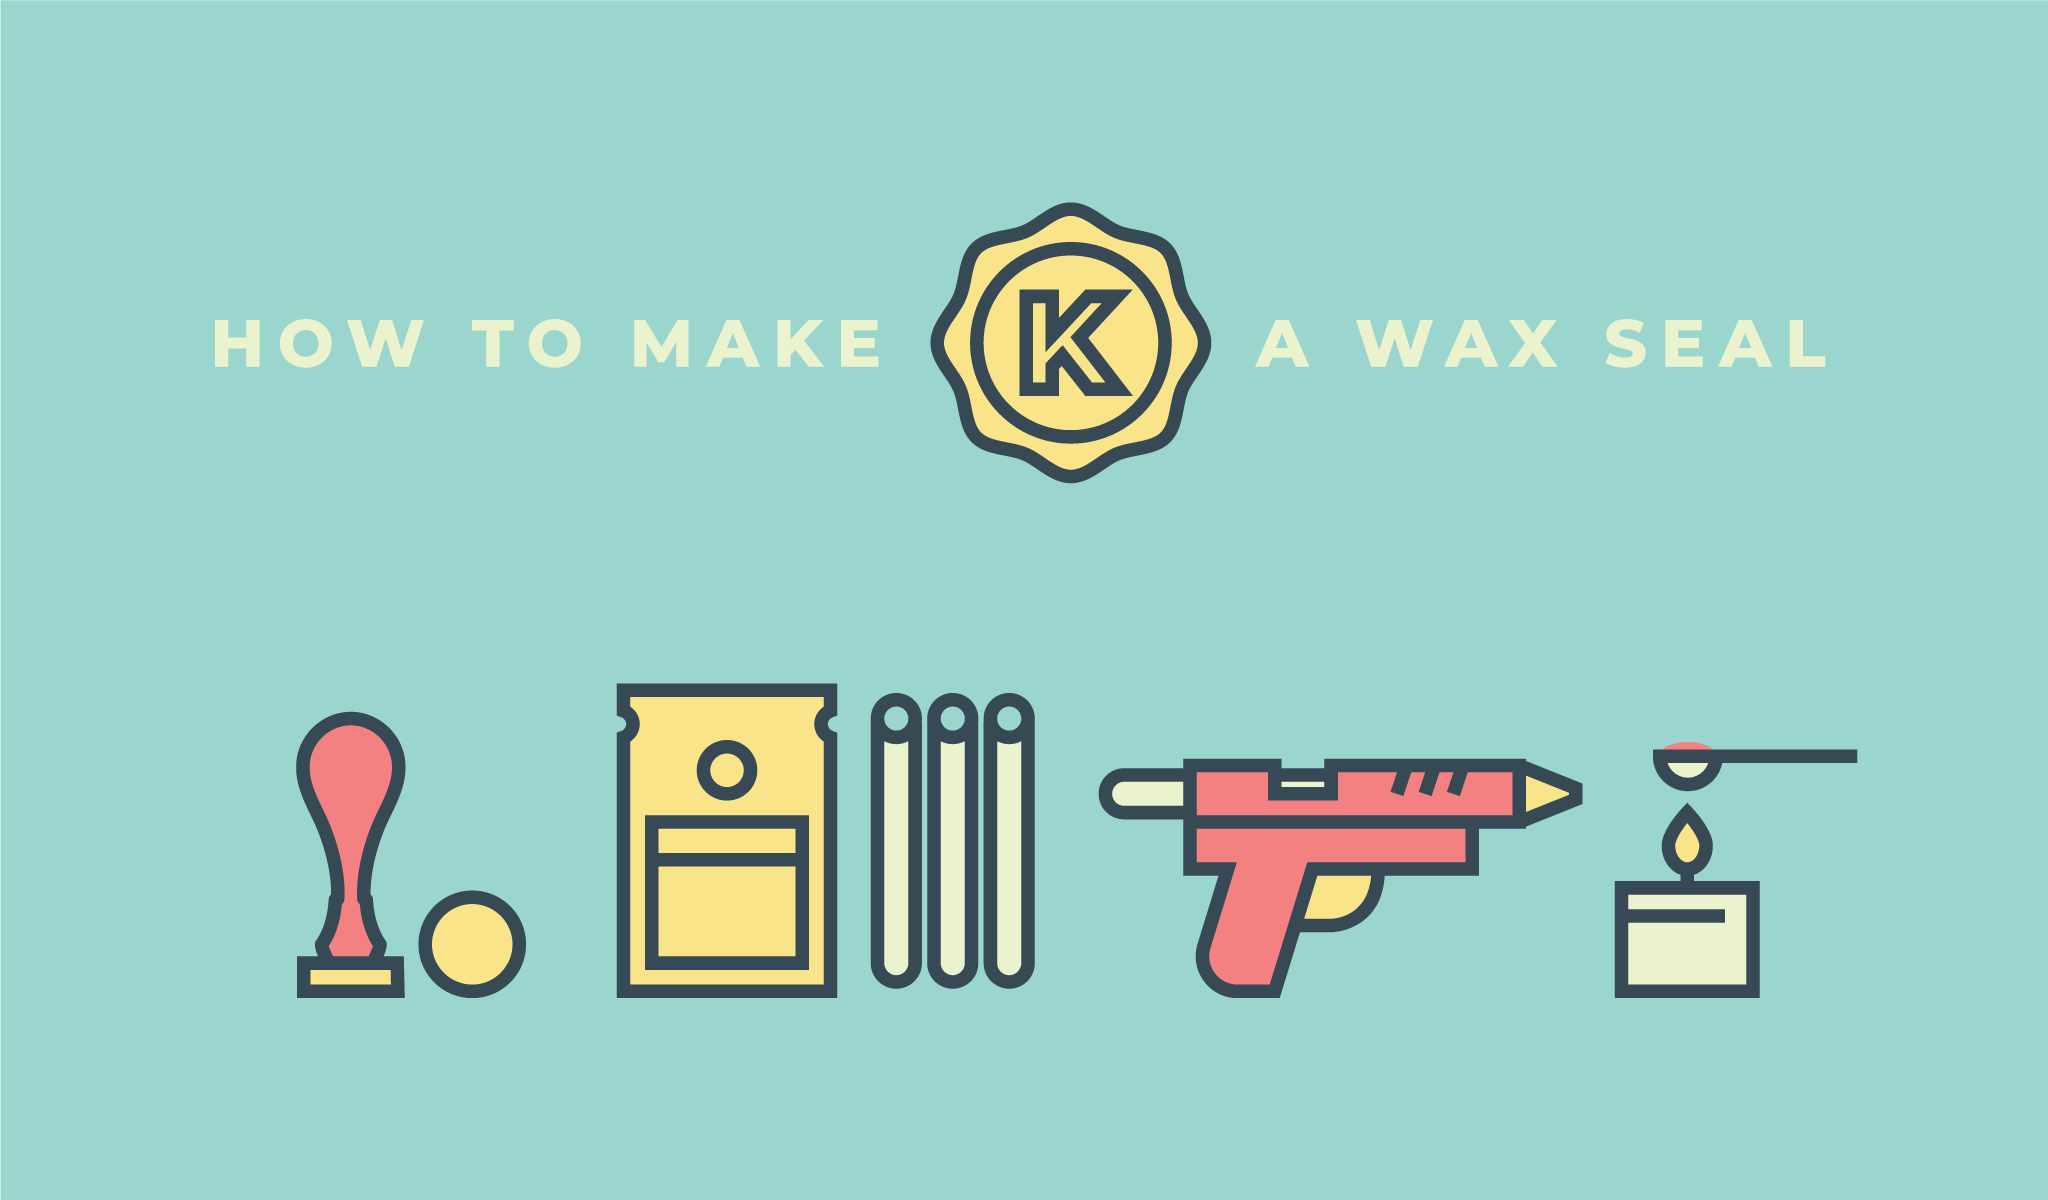
THE GEAR
- THE STAMP
The stamp is used to make an impression in hot sealing wax - this forms your wax seal. You can choose from a collection of pre-designed Symbol and Motif Wax Seal Stamps or you might want to select one or two letters (perfect for personal correspondence, weddings and commitment ceremonies of all kinds). If you're feeling super-creative you can upload your own artwork or logo and use it to make a Custom Design Wax Seal Stamp. Check out the entire collection here.
- THE WAX
Wax is the fun part. There are two kinds of sealing wax; Flexible and Traditional. Flexible wax is perfect for anything being handled or sent through the postal service, it's also our most popular sealing wax. Traditional sticks come with a wick and are made of a breakable wax that will snap or break when a little pressure is applied making it unsuitable for items sent in the mail. There are plenty of colours to choose from including metallic, pastel and pearlescent sealing wax colours.
- THE HEAT SOURCE
Your sealing wax needs to be melted down before you can make an impression in it with your stamp. Our Flexible sealing wax sticks are 12mm in diameter which means they fit perfectly into a 12mm glue gun. We recommend using a low-temperature glue gun to dispense your wax, try one of our stunning beasts right here. A glue gun is a great way of producing seals in small batches or in bulk. If you're only making the odd seal here and there, you can use a wax melting spoon and a candle to melt your wax.
Traditional sticks have a wick (like a candle) and you won't need any extra gear to melt them, you simply light the wick and allow the wax to drip onto your chosen surface.
- THE CLEAN UP
If you're using a low-temperature glue gun to make your wax seals you may want a way of cleaning out your gun when you're done. Wax Gun Cleaning Sticks are specially formulated to help clean away any coloured wax inside your gun, which is especially handy when you're changing colours. If you don't, you'll find that your colours will mix which can produce some very cool marbling results! It's also a good idea to have an old cloth on hand for quick clean-ups.
THE SEAL
Once you've got all of the gear, you're ready to start creating seals! Wax is sticky so make sure you set aside a clear working area for any mess you might make and be careful not to get wax on your skin or clothing - it may burn you and it's near impossible to get out of fabric. That said, it's usually a pretty tidy process and mess is just part of the fun.
- CHOOSE YOUR TARGET
Wax will adhere to almost anything. Whatever you're sealing (paper, invites, envelopes, gift wrapping, jars) make sure you have them close by, clean, dry and ready to be embellished.
- ARM YOURSELF
If you're using a glue gun, plug it and let it heat up before you insert your wax stick. It'll usually take about 5-10 minutes to get warmed up. Make sure you avoid touching the nozzle area of the gun and it's a good idea to rest the gun with nozzle pointed down on a safe and sturdy surface that will catch any stray droplets of hot wax. Avoid aiming the nozzle upwards to avoid hot wax pouring out the opposite end and into the electrics or onto your hands (we've done this, it hurts). Have your stamp ready to go too.
- HEAT IT UP
If you're using a gun, insert a stick of sealing wax pull the trigger slowly until you feel some pressure. You'll need to insert a second stick to push along the first. Pull the trigger again and as the wax hits the hot part of the gun it'll melt and exit through the nozzle onto your chosen surface. You'll only need one or two squirts to make a circular shape no bigger than about 15mm in diameter. If your wax stick is getting too short for the trigger, add another stick of wax to the gun to help push it through.
If you're using a Glue Gun and your sealing wax is getting too hot, unplug it for a while to let the gun cool - your gun will still work while unplugged and while it remains hot. Avoid leaving your gun on for prolonged periods of time (10-15 minutes max.). Plug it back in when your sealing wax is getting too thick. When heating your sealing wax you should aim for the consistency of honey. Not too thick and not too runny.
If you're using a Melting Spoon and Candle, cut a 10-12mm piece (or several smaller pieces) of wax and sit it in the spoon. Hold the spoon over the flame until the wax melts completely. Once melted, tilt the spoon onto your chosen surface. Give the spoon a wipe with a cloth while it's still hot to remove any residue (be careful not to burn your precious fingers!) or add more wax to repeat the process.
If you're using a Traditional stick of wax with a wick, light the wick and allow the wax to drip onto your chosen surface. Hold your stick slightly up (at about 45º) to avoid getting soot in your seals.
- MAKE AN IMPRESSION
While the wax is still hot, use your stamp to make an impression by pushing very gently into the wax. Let your stamp rest on the wax while it cools. It'll take about a minute or so before it completely hardens. In hot weather it can take longer for your seal to harden.
- WIGGLE IT
Once the wax has hardened, gently wiggle and then lift the stamp. There you have it - your first wax seal! Rinse and repeat. If you're making a lot of seals in bulk you might find that the brass will start to warm up and become harder to lift off the wax. Don't stress! Cool it down from time to time with some ice or cold water (just make sure it's dry before you make your next wax seal and avoid getting the wooden handle wet).

If you need help or advice or just want to show off the awesome stuff you've created, get in touch! We'd love to hear from you.